Sand Art
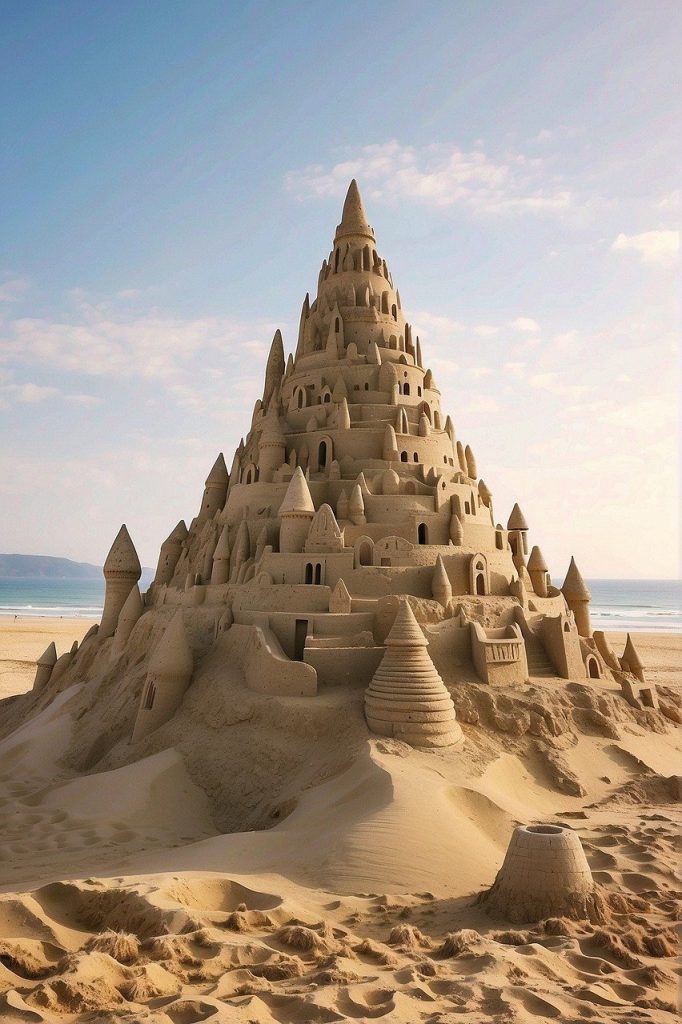
Sand art is a engaging practice originating in India, now popular worldwide. You can begin by selecting a pre-cut board from a sand art kit, pouring coloured sand, and shaking off the excess to reveal intricate designs. Essential materials include vibrant sand, pre-designed kits, and tools for layering. This art form encourages creativity and can be a therapeutic activity. Sand art also offers vast possibilities, from mandala designs to beach sculptures. Kids benefit from its sensory and cognitive engagement, fostering imagination and family bonding. To explore advanced techniques and discover the world of renowned sand artists, continue.
Key Points
- Sand Art involves pouring coloured sand into pre-designed sections to create intricate pictures.
- Essential materials include vibrant coloured sand, pre-cut boards, and various themed kits.
- Techniques include layering, blending, raking, painting, and sculpting for detailed creations.
- Sand Art fosters creativity, fine motor skills, and cognitive development in children.
- Competitions are held worldwide, attracting both amateurs and professionals showcasing diverse styles.
Types of Sand Art
Exploring the various types of sand art reveals a diverse range of techniques and themes that cater to both novice and experienced artists.
You can experiment with various sand art techniques, such as pouring colored sand into pre-designed sections and shaking off the excess to reveal intricate designs.
For inspiration ideas, consider themed kits for holidays like Christmas, Easter, and Halloween. These provide a structured yet creative sand art experience.
Creating custom designs is another way to express creativity. Kits featuring Disney characters, mythical themes, sea creatures, and dinosaurs offer endless possibilities.
Moodscape sand pictures, available in various colour combinations, allow you to add an artistic touch to any space, demonstrating the versatility of sand art.
Materials Needed
To begin your sand art journey, you’ll need a curated selection of essential materials that guarantee both ease and creativity in your projects. Start with the Sand Art 2in1 Pack, which includes everything necessary for quick picture creation by pouring colored sand and shaking off the excess.
Next, 1kg Bags of Sand in vibrant colors are indispensable, adding texture and vibrancy to your unique designs. Sand Art Bundles cater to seasonal themes like Christmas, Easter, and Halloween, offering diverse design options.
Various Sand Art Kit Varieties featuring Disney characters, mythical creatures, and dinosaurs are suitable for all skill levels, ensuring project inspiration for everyone.
Lastly, Moodscape Sand Pictures and Salt Lamps offer an artistic touch to any decor.
Step-by-Step Guide
Starting your sand art project demands meticulous attention to each step to guarantee a vibrant and polished final piece.
Begin by selecting a pre-cut board from your Sand Art kit. Historically, sand art has evolved to include innovative designs that reflect cultural influences.
Pour colored sand carefully into designated sections, following the lines for a clean look. Shake off excess sand to reveal the intricate patterns formed.
This method not only brings out creative benefits but also serves as sand art therapy, enhancing your mental well-being. Sand Art kits simplify the process and assure a mess-free experience, making it accessible and enjoyable for all ages.
Follow these steps meticulously to craft stunning, vibrant sand art creations.
Tips and Tricks
When creating sand art, choosing high-quality, fine-grain sand guarantees smoother, more precise designs.
Master layering techniques by alternating colors to create depth and intricate gradients, enhancing the visual allure of your piece.
Choosing the Right Sand
Selecting the appropriate sand is essential for creating detailed and visually striking sand art. Focus on sand quality, ensuring you choose fine grains for intricate designs. Opt for vibrant colors to make your creations pop. Color selection is important; blending multiple hues can add depth.
Clean, dry sand prevents clumping, ensuring smooth pouring. Sand texture plays a significant role; experimenting with different textures can lead to unique, visually appealing pieces. By carefully considering sand texture and layering techniques, you can enhance the overall impact of your art.
Layering Techniques for Depth
Mastering the art of layering sand involves precise techniques that add depth and dimension to your creations, transforming simple designs into visually compelling works of art.
Start with a base layer of one color, then gradually add more layers on top, using lighter colors to create highlights and darker colors for shadows. To achieve texture variations and effective layering effects, vary the thickness of each layer. Employ blending techniques to guarantee smooth shifts.
Use a small spoon or brush for intricate details, guaranteeing even coverage. Patience and precision are vital; these attributes allow you to achieve professional-looking results.
Sand Art for Kids
Sand Art for Kids offers an engaging and messy-free creative outlet that fosters both imagination and family bonding. One of the primary sand art benefits is its role in sensory play, which aids in children’s cognitive development and fine motor skills.
Sand art party ideas can transform a gathering into an exciting, hands-on experience, fostering group activities that encourage cooperation and social interaction. By incorporating sand art into events like school holidays or Easter activities, you provide children with a medium to explore creativity without the hassle of glue or mess.
This activity not only captivates young minds but also strengthens family ties through shared artistic endeavours, making it an ideal choice for enriching playtime.
Advanced Techniques
To master advanced sand art techniques, you’ll need to focus on layering for depth and creating color gradients.
Utilizing customized tools such as toothpicks and brushes will enable you to achieve precise detailing and shading.
Experimenting with blending methods and understanding the properties of various sands can elevate your art to a professional level.
Layering for Depth
Achieving a sense of depth and dimension in sand art requires the strategic layering of different colored sands to create intricate, three-dimensional designs. By mastering layering effects, you can transform simple sand arrangements into complex, dimensional designs that capture the viewer’s eye.
This technique involves carefully stacking various hues to create a sense of depth, making your artwork appear more lifelike and dynamic. Advanced sand artists often exploit this method to infuse their pieces with vibrant and intricate visuals. Experimenting with different layering approaches will enable you to produce stunning, textured pieces that exhibit both depth and complexity.
Each layer contributes to the overall dimensionality, ensuring your sand art stands out with remarkable detail and sophistication.
Colour Gradient Techniques
Mastering colour gradient techniques in sand art allows artists to create smooth shifts between hues, thereby adding depth and complexity to their work. You’ll achieve this through precise colour blending and careful layering of sands. By controlling the amount and placement of each coloured layer, seamless transformations can be realized, enhancing the visual appeal.
| Technique | Description |
|---|---|
| Pouring | Control sand flow for gradual color changes. |
| Layering | Stack colours to achieve a gradient effect. |
| Ratio Mixing | Experiment with different colour ratios. |
| Placement | Strategically place colors for desired gradient. |
Experimenting with different ratios and layering techniques allows you to create unique and intricate patterns. Mastering these skills showcases your creativity and elevates the beauty of your sand art.
Tool Customization Tips
Customizing your tools can greatly enhance the precision and intricacy of your sand art, allowing for greater control over detailed techniques such as shading and texturing. By focusing on custom tooling, you can achieve intricate designs that elevate your work.
Here are some essential tips for optimizing your sand manipulation:
- Modify Brushes: Trim bristles to create various textures for finer details.
- Craft Stencils: Use cardboard or plastic to cut out specific shapes or patterns.
- Adapt Everyday Items: Repurpose items like toothpicks or combs for unique effects.
- Combine Materials: Integrate other elements like glitter or beads for added depth.
Mastering these techniques will allow you to produce more intricate and visually compelling sand art.
Frequently Asked Questions
What Is Sand Art Called?
You’re asking about the name for this creative practice. It’s called ‘sand painting’ or ‘sand crafting.’ Different styles have evolved, and modern applications now use various tools and surfaces to create intricate, colourful designs.
How to Do Sand Art?
To create stunning designs, start with layering techniques by pouring different coloured sands. For colour blending, gently shake or mix adjacent colours to achieve smooth transformations. This method enhances depth and adds complexity to your artwork.
What Culture Is Sand Art From?
You’re exploring sand art’s cultural significance and traditional origins. This art form comes from the Middle East, with a special focus on Saudi Arabia, Jordan, and the UAE, deeply rooted in Islamic culture, showcasing geometric patterns and calligraphy.
What Materials Are Used in Sand Art?
You primarily use colored sand and adhesive spray for this art form. These materials enable you to create intricate designs and patterns. The colored sand adds vibrancy, while the adhesive spray guarantees the sand stays in place.
Conclusion
In mastering sand art, you’ll gain a deep appreciation for its diverse types and the array of materials required.
Following a clear step-by-step guide guarantees precision and creativity, while tips and tricks enhance your skills.
Sand art offers a wonderful activity for kids and challenges for advanced artists alike.
By applying these techniques, you’ll not only create visually stunning pieces but also engage in a meditative and fulfilling artistic practice.
Author: Theodore Beaufort