Textured Wall Art
Textured wall art delves into 3D effects and tactile engagement to enhance your decor. You can craft unique, enthralling designs by experimenting with materials like canvas, putty knives, and texture mediums. Prepare your canvas well and draw inspiration from abstract art or nature. Techniques such as faux brush strokes, stencilling, and mixed media can enrich your piece’s depth and charm. High-quality supplies guarantee durability, while lighting and placement can amplify the visual impact. Explore these methods to bring sophistication and a sensory experience to your space—a few more insights can help you get started.
Key Points
- Textured wall art adds depth and dimension to decor, creating a 3D visual impact.
- Various techniques, such as faux brush strokes and stencilling, enhance the textured effect.
- Materials like canvas, putty knives, and texture mediums are essential for creating textured wall art.
- Unique and personalized designs can be achieved by incorporating embellishments like beads or gold leaf.
- Proper lighting can highlight the texture, enhancing the overall ambience of the room.
What Is Textured Wall Art
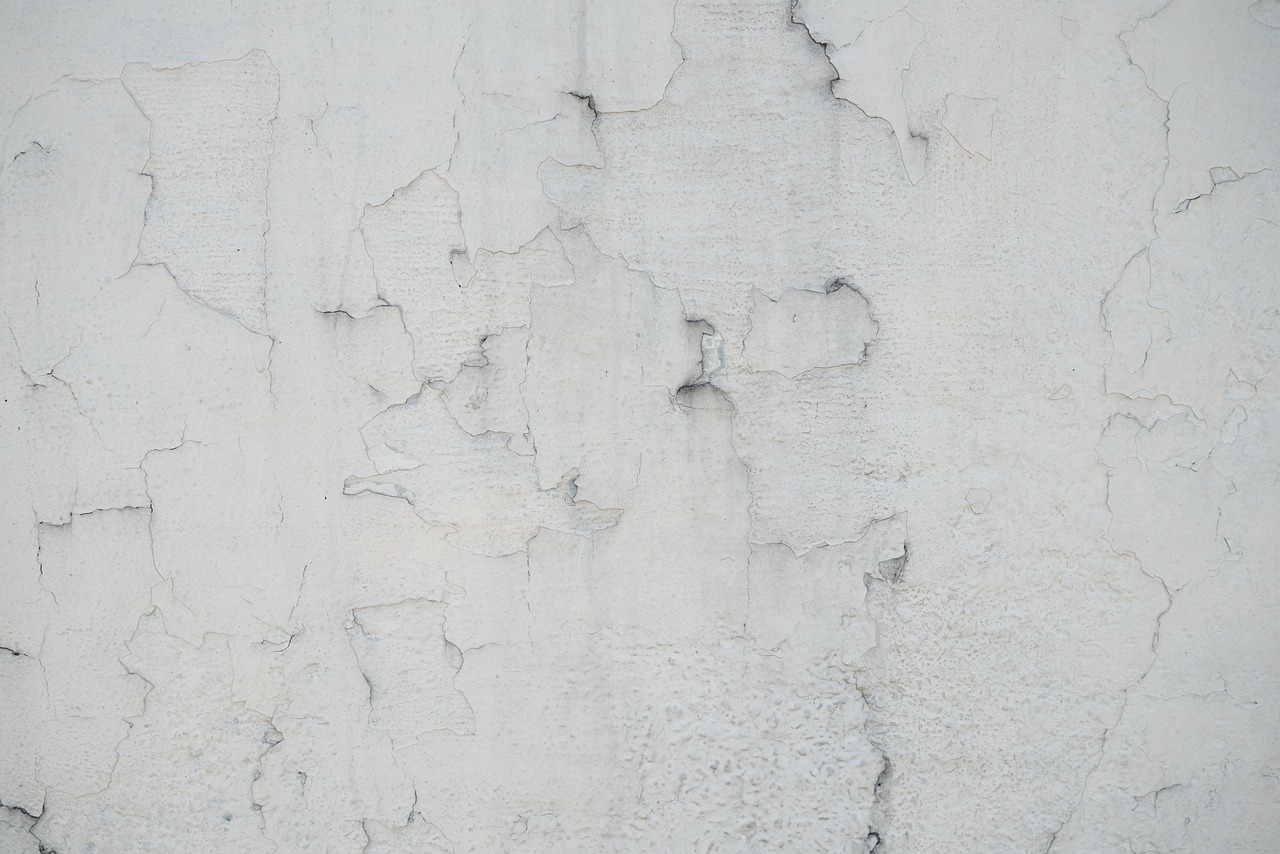
Textured wall art is a creative medium that brings 3D effects and tactile experiences to traditional canvas artwork. By incorporating texture techniques such as layering clay or applying gels, you can transform flat surfaces into dynamic pieces with substantial visual impact.
The artistic process involves experimenting with various materials to achieve unique designs that serve as decor inspiration. This medium isn’t just about aesthetics; it’s about engaging viewers on multiple sensory levels.
You can use these textured pieces to add depth and interest to any room, making them focal points that enhance the overall ambience. Whether you’re an experienced artist or a beginner, textured wall art offers a fun, creative outlet that elevates both your skills and your home’s visual appeal.
Materials You Need
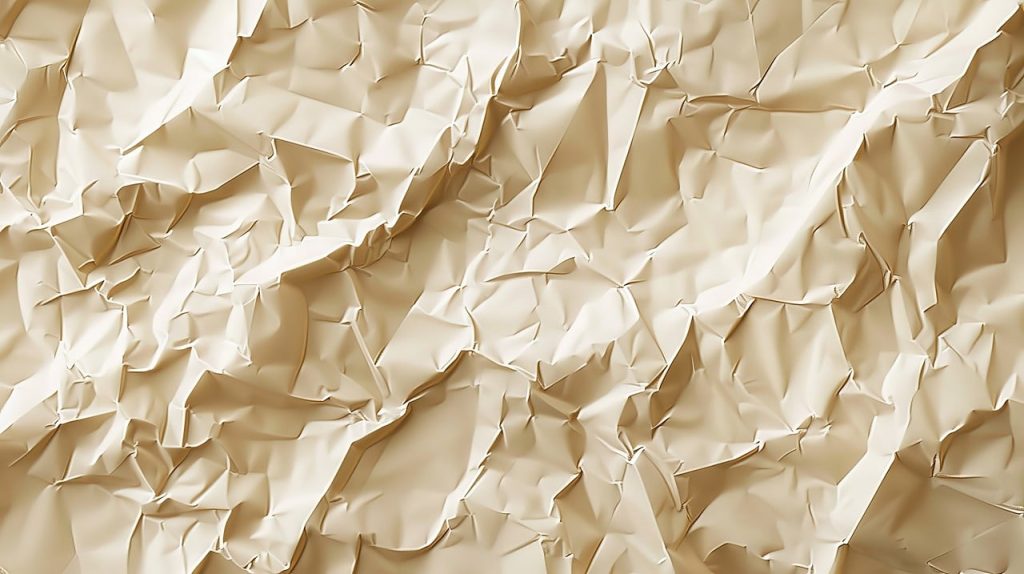
To explore alluring textured wall art, you’ll need essential materials like canvas, putty knife, and texture mediums such as drywall mud. These items form the backbone of your project but don’t stop there. Let texture inspiration guide you to experiment with unconventional materials like fabric or paper, adding depth and interest.
Consider these materials:
- Painters tape – Essential for clean lines and boundaries.
- Paint – Choose colors that complement your design.
- Embellishments – Beads, sequins, or gold leaf add a personalized touch.
To craft faux brushstrokes, drag a dry brush with contrasting paint. Explore unique techniques like stencilling or using sponges for varied patterns. Each material and method brings your artistic vision to life in unexpected ways.
Step-by-Step Guide
When starting your textured wall art project, begin by preparing your canvas thoroughly to guarantee a smooth and clean surface. Lay it flat, and make sure it’s free of dust and debris.
Draw texture inspiration from nature, architecture, or abstract art. Use a putty knife to apply materials like drywall mud or jointing compound. Experiment with various texture application techniques—vary filler thicknesses and brush strokes to create diverse patterns.
Once the texture dries, apply a base coat of paint if desired. This enhances the visual appeal and depth of your art. Embrace imperfections; they often add unique character and charm, transforming your textured wall art into a one-of-a-kind masterpiece.
Tips for Success
For a successful textured wall art project, focus on selecting high-quality materials and tools to guarantee durability and visual impact.
Here are three essential tips for achieving standout results:
- Texture Application: Use materials like drywall mud or jointing compound with a putty knife to create a 3D effect before painting.
- Embellishment Ideas: Enhance your design with beads or gold leaf to add visual interest and depth.
- Texture Painting and Room Placement Suggestions: Experiment with faux brush strokes or stencilling for intricate patterns, and display your artwork in various rooms to elevate the aesthetic appeal.
Taking these considerations into account ensures your textured wall art not only looks impressive but also stands the test of time.
Creative Techniques
Embracing creative techniques can elevate your textured wall art from simple to extraordinary by incorporating unique materials and methods. Start by experimenting with colour blending to add depth and dimension.
Dragging a dry brush with contrasting paint colours can create faux brush strokes that give your artwork an intriguing layered effect. Mixed media approaches, such as combining fabric, paper, or sand, introduce diverse textures that captivate the eye.
Intricate patterns can be achieved through stencilling or using sponges, adding a sophisticated touch. Enhance your pieces further by adorning them with embellishments like beads, sequins, or gold leaf, which amplify texture and visual appeal.
These techniques not only enrich your artistic expression but also make each piece uniquely yours.
Display Ideas
Strategically placing textured wall art can dramatically transform your space, adding both visual interest and tactile depth. Consider these placement suggestions and decorative arrangements to maximize the impact:
- Highlight with Lighting Effects: Position your art where natural or artificial light accentuates its texture, creating dynamic shadows and enhancing its 3D effect.
- Colour Coordination: Choose pieces that complement your room’s colour scheme. Neutral tones work well in contemporary settings, adding a subtle yet striking focal point.
- Portrait Orientation: Hang the art in portrait orientation to elongate the room and draw the eye upwards, making the space feel larger and more sophisticated.
Frequently Asked Questions
How Do You Do Textured Wall Art?
You start by preparing your canvas. Use layering techniques to add depth and texture, then let it dry. Choose your colors thoughtfully, applying a base coat if needed. Experiment with different materials and embrace imperfections for uniqueness.
What Material Is Used for Textured Wall Art?
You can use moulding paste to add depth and embossing powder for intricate details. Moulding paste helps achieve a robust texture, while embossing powder enhances fine elements, creating a dynamic and visually appealing piece.
Can You Use Fillers for Textured Art?
Yes, you can use fillers for textured art. Experiment with various filler types and techniques to create unique textures. Fillers like jointing compound or polyfiller, applied with tools, add depth and intricate patterns to your artwork.
Can You Use Grout for Textured Art?
Yes, you can use grout for textured art. Different grout types and grout colours allow for various effects and shades, making your artwork unique and durable. Experimenting with these elements provides endless creative possibilities.
Conclusion
Creating textured wall art yourself isn’t just a fun project; it’s an opportunity to express your unique style and creativity. By carefully choosing materials and employing various techniques, you can transform any space. Always focus on the details and don’t rush the process.
Thoughtfully displaying your work can elevate your home’s aesthetic. Remember, each piece you create carries a part of you, making your home truly one-of-a-kind.
So, let your artistic journey begin!
Author: Rupert Ulrich